This post may contain affiliate links. Please read our policy page.
Transform your garden this weekend with 12 fun and creative DIY decor projects! Paint whimsical rocks for colorful accents, turn tires into unique planters, or craft a charming mason jar herb garden. Create vertical displays with rustic pallets, hang colorful flowerpot wind chimes, or make borders with recycled bottles. Personalize your space with hand-painted signs and delightful fairy gardens in teacups. Each project adds personality and charm, making your outdoor haven a true reflection of you. There’s more inspiration to discover!
Whimsical Painted Rocks

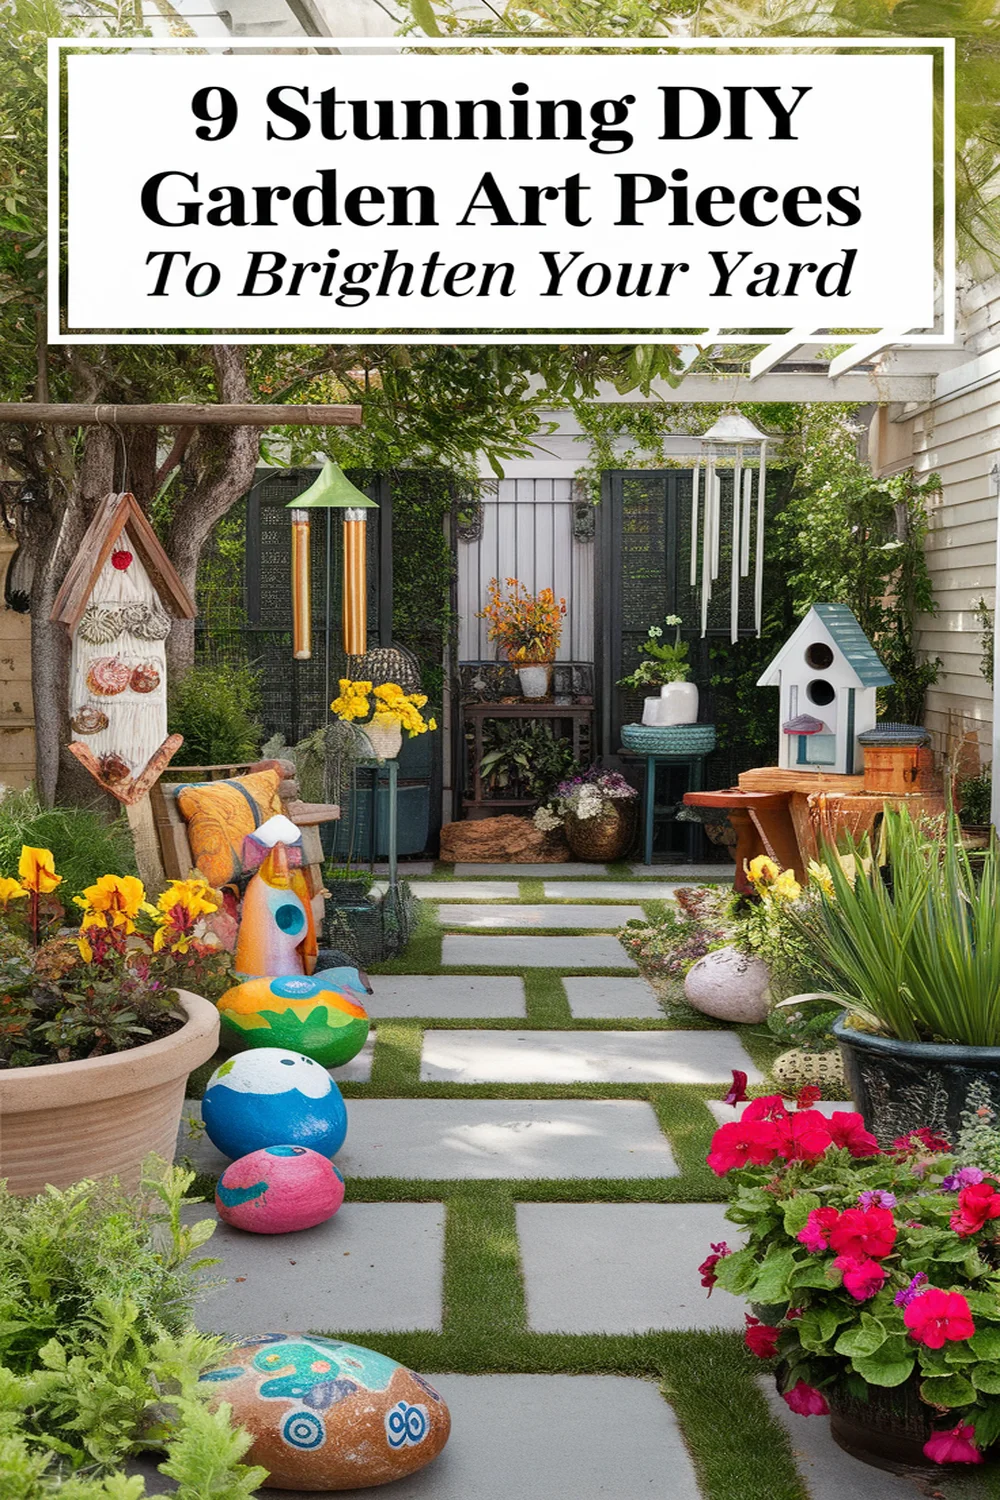
Add a splash of color to your garden with whimsical painted rocks! These charming accents are not only easy to make, but they also let your creativity shine. Start by gathering smooth stones from your yard or local riverbed; the more varied the shapes, the better. Clean them thoroughly and let them dry. Grab some outdoor acrylic paints and brushes—choose bright, cheerful colors. You can paint flowers, animals, or even fun patterns. Once your designs are complete, seal them with a weather-resistant varnish to guarantee they withstand the elements. Place your rocks along garden paths, flower beds, or even in planters for playful pops of color. You’ll love how they add personality to your outdoor space!
Recommended Items
Get ready to spruce up your garden with these fantastic products and tools—let’s make it a weekend of creativity!
Upcycled Tire Planters

Upcycling old tires into planters not only helps the environment but also transforms your garden into a unique visual delight. With a bit of creativity, you can turn those worn-out tires into eye-catching features that showcase your favorite plants. Here’s what you’ll need to get started:
- Old tires of various sizes
- Non-toxic paint for customization
- Potting soil for your plants
- A drill or knife for drainage holes
- Flowers or herbs of your choice
Simply clean the tires, paint them in vibrant colors, and arrange them in your garden. You can stack them, hang them, or leave them flat—endless possibilities await. This weekend, let your imagination run wild and create stunning tire planters!
Mason Jar Herb Garden

If you’re looking to bring fresh flavors to your cooking while adding a charming touch to your kitchen or patio, consider creating a Mason jar herb garden. It’s a simple project that brightens your space and provides quick access to fresh herbs.
| Herb | Sunlight Needs | Watering Frequency |
|---|---|---|
| Basil | 6-8 hours daily | Every 5-7 days |
| Mint | 4-6 hours daily | Keep soil moist |
| Thyme | 6-8 hours daily | Every 7-10 days |
Start by choosing your favorite herbs, filling jars with good potting soil, and planting seeds or small plants. Place them in a sunny spot, and soon, you’ll be snipping fresh herbs for your delicious dishes!
Rustic Pallet Vertical Garden

Transforming your outdoor space doesn’t have to be complicated, especially with a rustic pallet vertical garden. This project not only saves space but also adds charm to any yard. Here’s a quick checklist to guide you:
- Reclaimed wooden pallet
- Potting soil
- Variety of plants or herbs
- Garden shears
- Hanging hooks or brackets
To get started, secure the pallet vertically against a wall or fence. Fill the slats with potting soil and mix in your chosen plants. You can personalize it with flowers, herbs, or even succulents. Water regularly and watch your garden flourish! This easy weekend project will not only beautify your space but also provide fresh produce at your fingertips. Don’t wait—get planting!
Colorful Flowerpot Wind Chimes

Brighten up your garden with colorful flowerpot wind chimes that add a playful touch to any outdoor space. These charming decorations not only look delightful but also produce soothing sounds as the wind dances through them. To create your own, gather small flowerpots, paint them in vibrant colors, and hang them with twine. Add decorative beads or shells for an extra flair!
| Step | Materials Needed | Tips |
|---|---|---|
| 1. Paint | Flowerpots, Paint | Use outdoor acrylic paints |
| 2. Drill Holes | Drill, Pot | Drill at the bottom edge |
| 3. Assemble | Twine, Beads | Knot securely |
| 4. Hang | Hooks, S-hooks | Choose a sunny spot |
| 5. Enjoy | Wind, Sunlight | Relax and listen! |
Let the wind chime melody enhance your garden’s ambience!
Project Plan for Weekend Garden Decor
Fun Garden Gnome Stake

Adding a whimsical touch to your garden, a fun garden gnome stake brings charm and personality to your outdoor space. You can easily create one that matches your style and makes your garden pop! Here’s what you’ll need:
- Wooden dowel or metal rod
- Paint (acrylic or spray)
- A gnome figurine
- Waterproof sealant
- Strong adhesive
Start by painting your stake in vibrant colors. Once it dries, attach the gnome securely, ensuring it’s balanced. Apply a coat of sealant to protect from the elements. Finally, stake it into the ground, and watch as it brings smiles to your outdoor paradise! This project not only enhances your space but also showcases your creativity.
DIY Bird Bath From a Satellite Dish

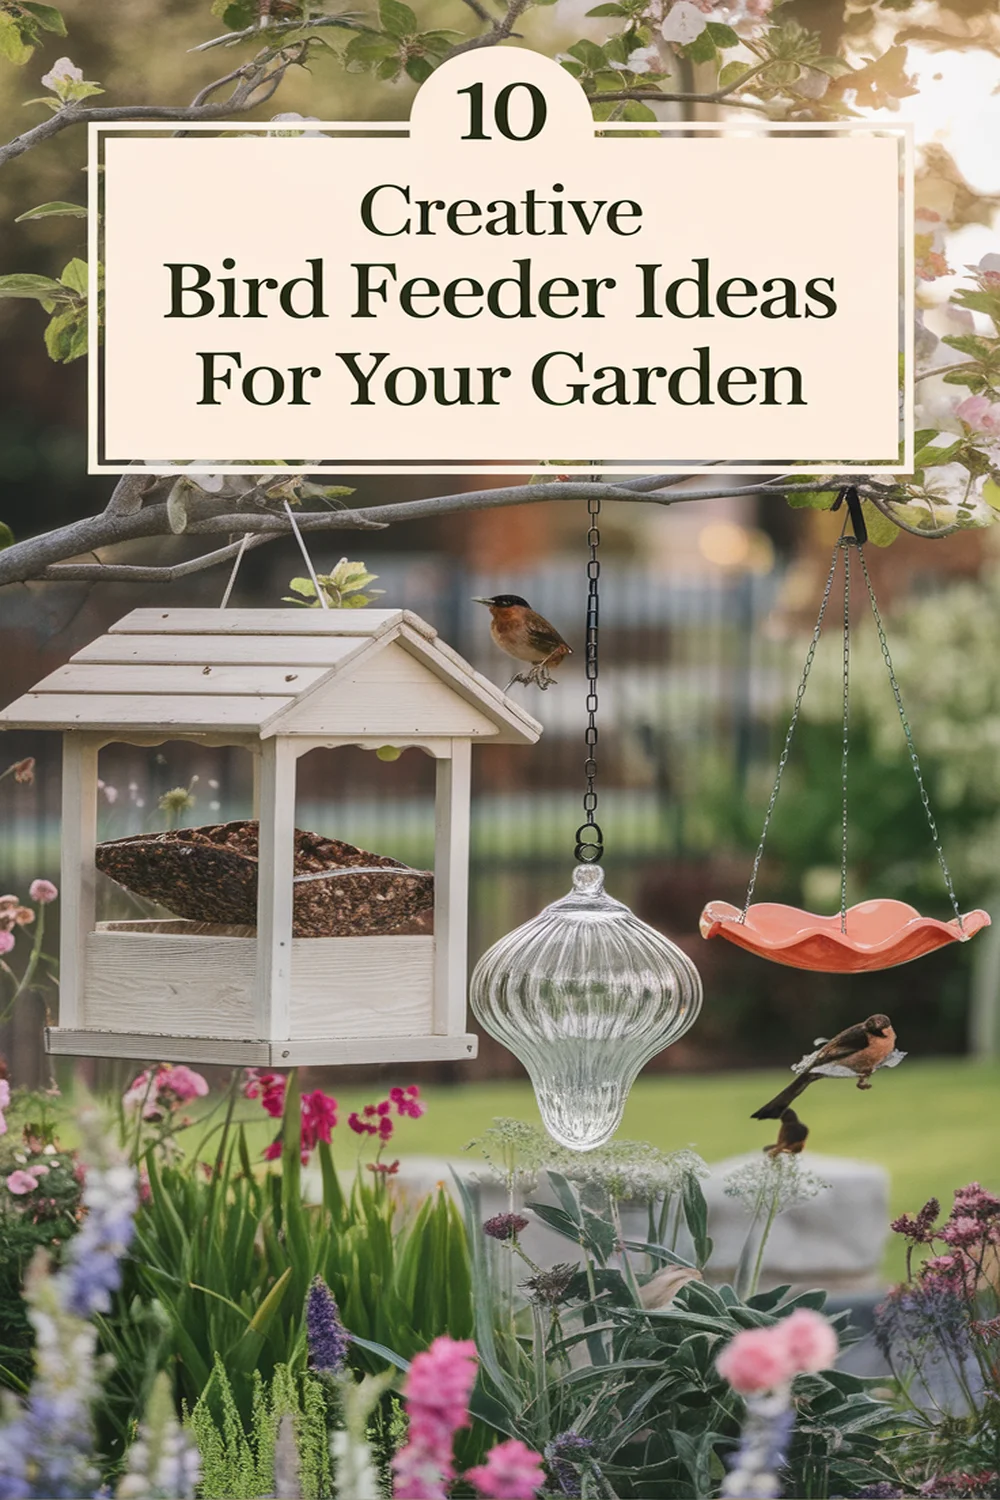
If you’re looking to attract more feathered friends to your garden, repurposing an old satellite dish into a stylish bird bath can be a unique solution. Start by cleaning the dish thoroughly to remove any dirt or grease. Next, flip it upside down—this will become the base. Using a strong adhesive, attach a sturdy pedestal, like an overturned plant pot or a metal pole, in the center. For added flair, consider painting the dish in vibrant colors. Once assembled, fill the dish with fresh water and place it in a sunny spot. Add some decorative stones or floating plants for extra charm. Enjoy watching your feathered visitors enjoy their new watering hole while enhancing your outdoor space!
Decorative Garden Ladder

While it may seem unconventional, turning an old wooden ladder into a decorative garden feature can add both charm and functionality to your outdoor space. You can easily transform it with a little creativity and a few personal touches. Here’s how to make it even better:
- Display potted plants: Stack pots for a beautiful arrangement.
- Hang garden tools: Keep your essentials organized and accessible.
- Add string lights: Create a magical ambiance in the evening.
- Attach decorative signs: Personalize your garden with fun quotes or labels.
- Incorporate birdhouses: Welcome feathered friends to your garden.
This DIY project not only recycles an item but also enhances your garden’s aesthetics, making it truly unique. Give your ladder a new life!
Recycled Bottle Edging

Transforming your garden with recycled bottle edging not only enhances its visual appeal but also promotes eco-friendliness. Start by collecting plastic or glass bottles—clear or colored ones work best for a vibrant look. Cut the bottles in half or trim them to your desired height. Bury the bottom half of the bottle slightly into the soil, leaving the top visible to create a charming border. You can arrange them in a straight line or create curves for an organic touch. This simple project not only keeps unwanted plants at bay but also showcases your creativity. It’s a fun and budget-friendly way to repurpose materials while adding a unique charm to your outdoor space. Get started this weekend!
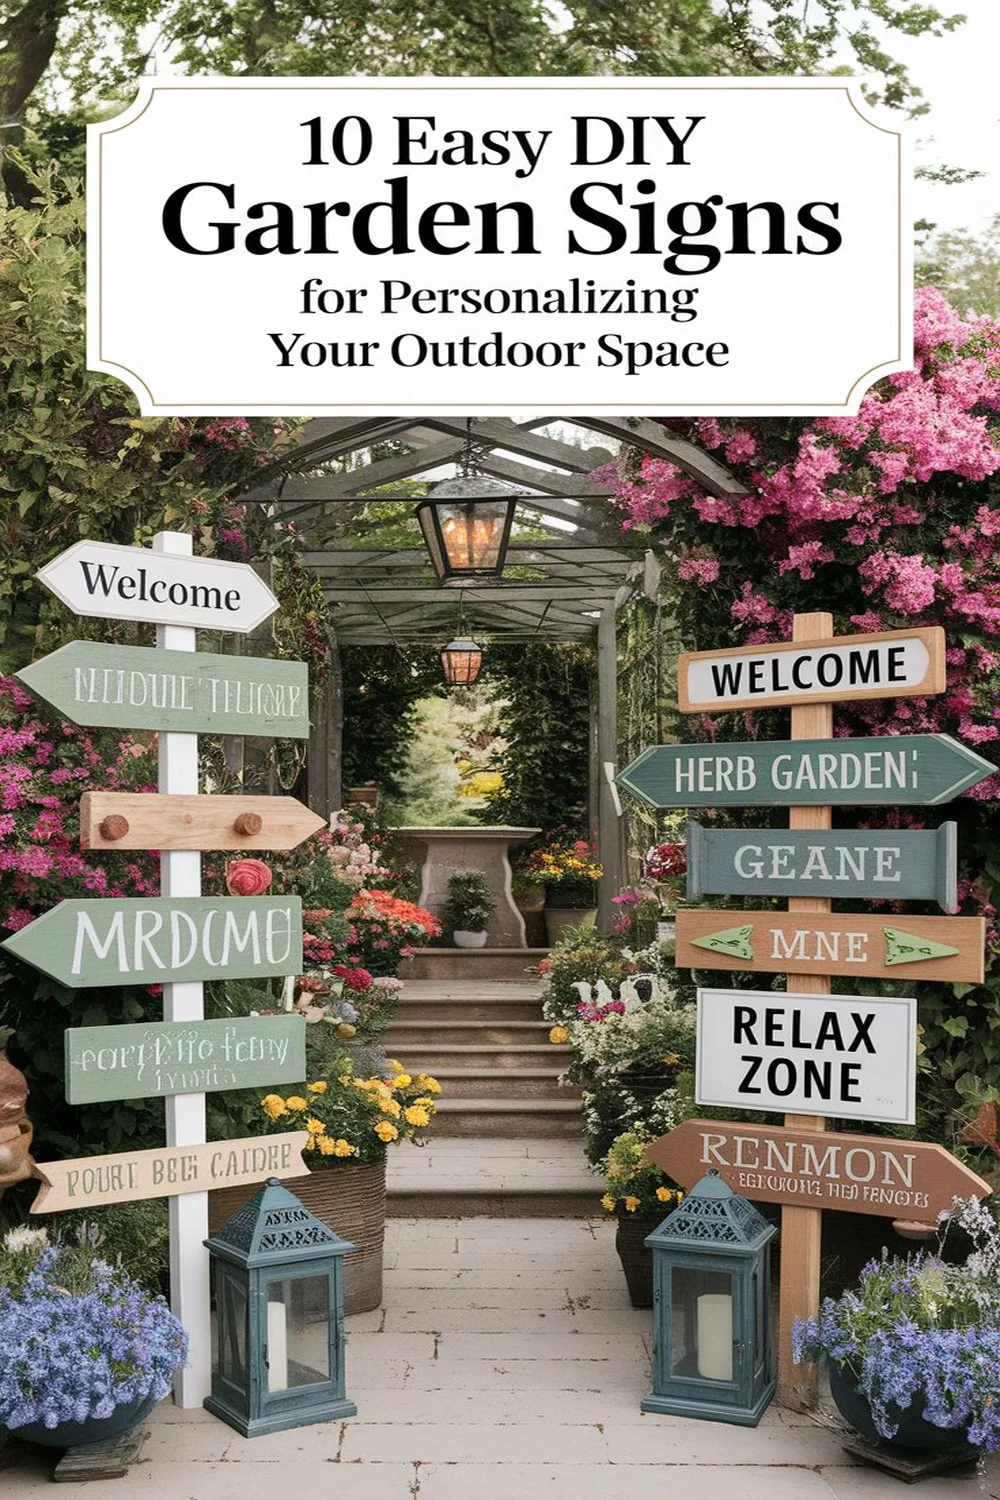
Hand-Painted Garden Signs
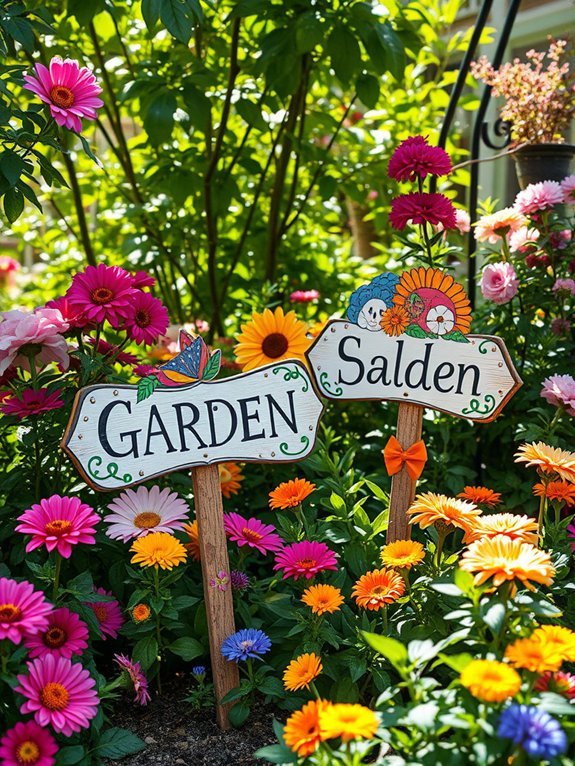
After you’ve added some charming recycled bottle edging to your garden, consider enhancing it further with hand-painted garden signs. These personalized touches can add character while guiding guests through your lovely space. Here’s what you’ll need to create these delightful signs:
- Wooden stakes or flat boards
- Acrylic outdoor paint
- Paintbrushes and sponges
- Clear weatherproof sealant
- Creativity or fun phrases
Simply paint your chosen words, whether it’s “Herb Garden” or “Veggie Patch,” and let your personality shine. You can even get the kids involved for a fun family project! Once everything’s dry, seal the signs to withstand the elements. Your garden will soon reflect your unique style!
Fairy Garden in a Teacup

If you’re looking to add a touch of whimsy to your garden, creating a fairy garden in a teacup is a delightful choice. Start by selecting a charming teacup—vintage or colorful works best. Fill it with potting soil and arrange small plants like succulents or moss to create a vibrant landscape. Enhance the magical feel by adding tiny figurines, like fairies or woodland creatures, and miniature accessories like pebbles or a tiny bridge. Don’t forget to include a little water for the plants! Place your teacup garden on a sunny windowsill or among your outdoor blooms. This enchanting project not only adds personality to your space but also sparks your creativity while inviting delightful fairy tales into your garden. Enjoy crafting!
Stenciled Terracotta Pots

Stenciled terracotta pots can breathe new life into your garden or home decor with just a few simple steps. They’re fun, easy to personalize, and can be a fantastic weekend project. Here’s what you’ll need to get started:
- Terracotta pots
- Stencils of your choice
- Outdoor acrylic paints
- Paintbrush or sponge
- Clear sealer
Begin by cleaning your pots and allowing them to dry. Secure your stencil on the pot, then carefully apply paint using a brush or sponge. Once you’re happy with the design, let it dry completely, and finish with a clear sealer to protect your artwork. Display them proudly, and watch how these charming pots elevate your space with style!
