This post may contain affiliate links. Please read our policy page.
Transform your outdoor space with these 11 DIY rustic garden projects that add charm and functionality! Create repurposed wooden pallet planters, a cozy log bench, or handcrafted stone pathways. Light up your garden with vintage mason jar lanterns and make a trellis from twigs. Upcycle an old wheelbarrow as a planter, paint rock garden markers, or hang a herb garden made from repurposed items. Each project offers a unique touch to your garden, inviting you to explore more ideas!
Repurposed Wooden Pallet Planters
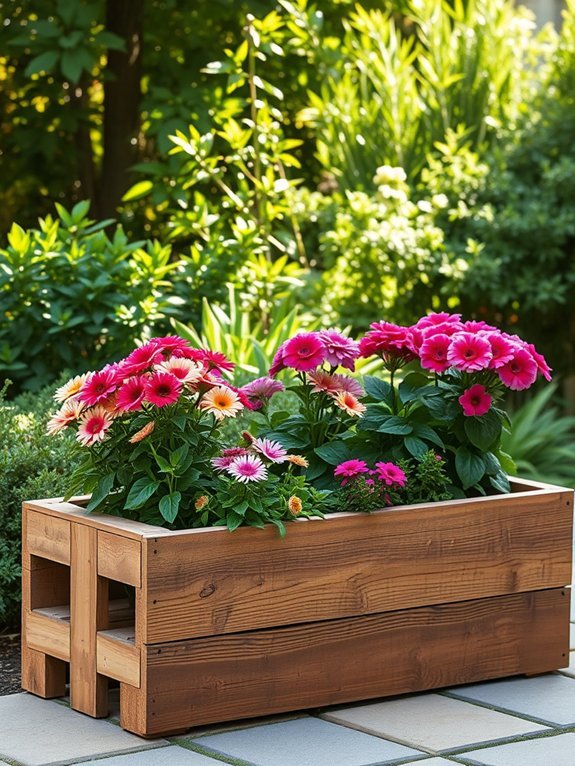
If you’re looking to add a touch of rustic charm to your garden without breaking the bank, repurposed wooden pallet planters are your perfect solution. These versatile planters not only save you money but also offer a unique aesthetic to your outdoor space. First, source pallets from local stores or online marketplaces; just make sure they’re untreated. Next, cut and stack them to create the desired shape – whether it’s a rectangular box or a tiered planter. Don’t forget to line the interior with landscaping fabric to retain soil while allowing drainage. Finally, fill your planter with soil and your favorite flowers or herbs. Before you know it, you’ll have a stunning focal point that showcases your creativity and love for gardening!
Recommended Items
Get ready to enhance your garden with our top picks for products and tools—let’s dive in!
Rustic Log Bench
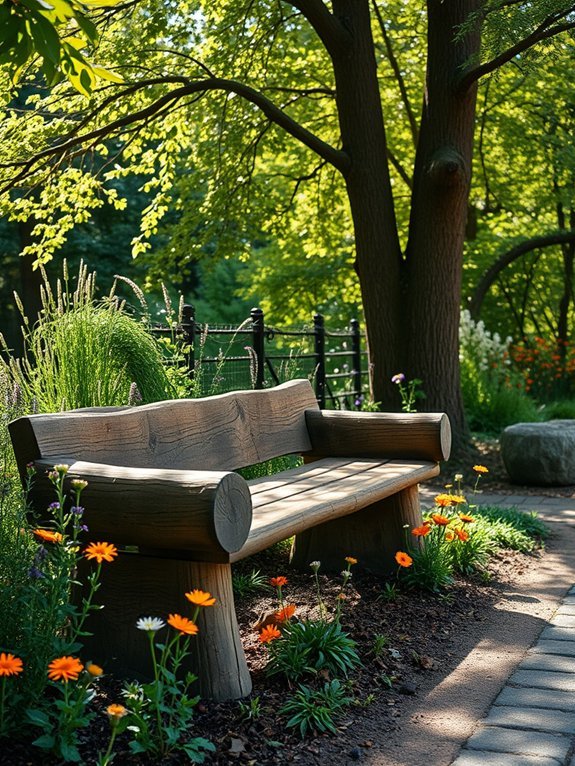
Creating a rustic log bench adds a cozy seating option to your garden that effortlessly blends with nature. Start by selecting sturdy logs, ideally with a diameter of 6 to 12 inches, ensuring they’re free of rot. Cut them to your desired length, typically around 4 to 6 feet for comfortable seating. Next, you can either leave the logs in their natural state for a rustic look or sand them down for a smoother finish. Secure the logs together with screws or sturdy brackets underneath for stability. Finally, choose a sheltered spot under a tree or by your favorite flowers. Your bench will invite relaxation and enhance your garden’s charm, making it a perfect gathering spot for friends and family.
Handcrafted Stone Pathway
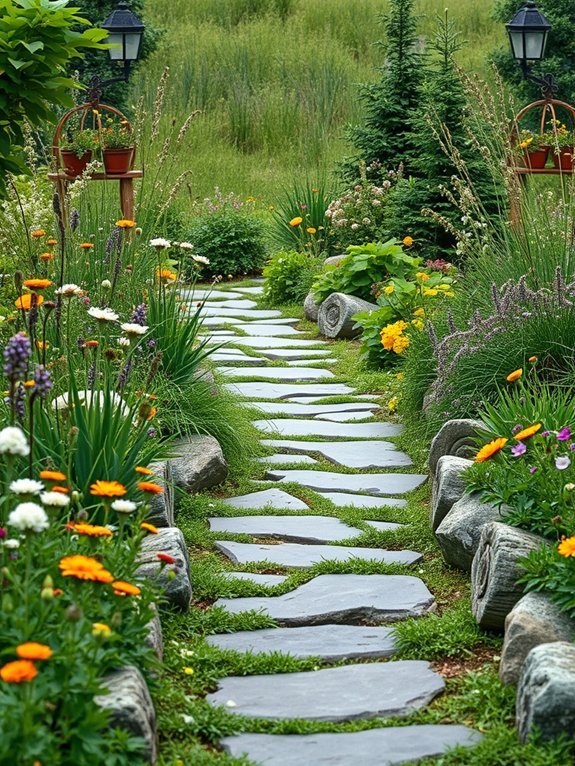
Transform your garden with a handcrafted stone pathway that invites visitors to explore its beauty. Start by selecting stones that match your garden’s aesthetic—think natural slate, river rocks, or locally sourced granite. Plan your pathway’s layout, curving it gently to create visual interest. Dig a shallow trench where the stones will sit, ensuring stability and proper drainage. Lay the stones in your desired pattern, leaving small gaps for soil and moss, which will soften the pathway over time. Fill these spaces with sand or gravel for extra stability. Finally, step back and admire your work. Your new stone pathway not only adds charm but also guides important foot traffic, ensuring your garden remains pristine and inviting!
Vintage Mason Jar Lanterns
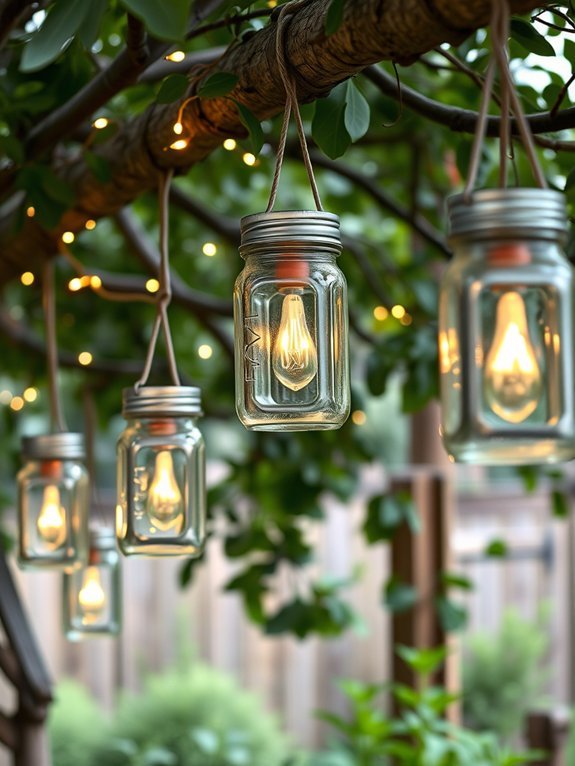
After designing your beautiful stone pathway, it’s time to enhance your garden’s ambiance with vintage mason jar lanterns. These charming lanterns add a warm, inviting glow during evening gatherings. To create them, gather some mason jars, fairy lights, or tea candles, and natural twine. Simply fill each jar with string lights or place a candle at the bottom, securing it with twine if needed. You can hang them from tree branches or line them along your pathway for a whimsical touch. Consider adding elements like pebbles or flowers inside the jars for extra flair. This DIY project not only brightens your garden but also reflects your personal style, making your outdoor space cozy and enchanting.
Step-by-Step Guide to Rustic Garden Decor
DIY Trellis From Twigs
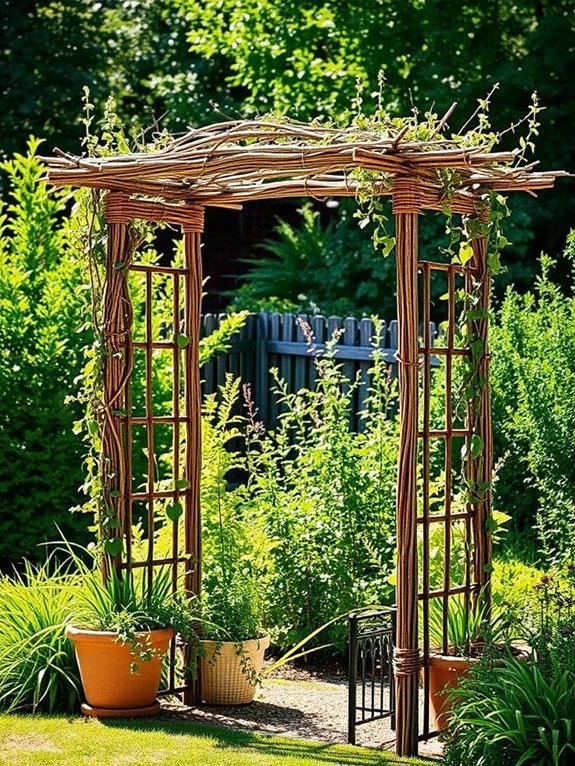
A charming trellis made from twigs can add an organic touch to your garden while providing support for climbing plants. It’s an easy and fun project that you can accomplish with just a few materials. Here’s what you’ll need to get started:
- Twigs: Collect sturdy twigs from your yard or nearby parks.
- Twine: Use natural twine for a rustic feel.
- Wire: If you need extra support, consider adding some thin wire.
- Tools: A pair of garden shears and a drill will come in handy.
Simply arrange your twigs in a desired shape, binding them with twine or wire. This rustic trellis will not only provide structure but also enhance the beauty of your garden!
Reclaimed Wood Garden Edging
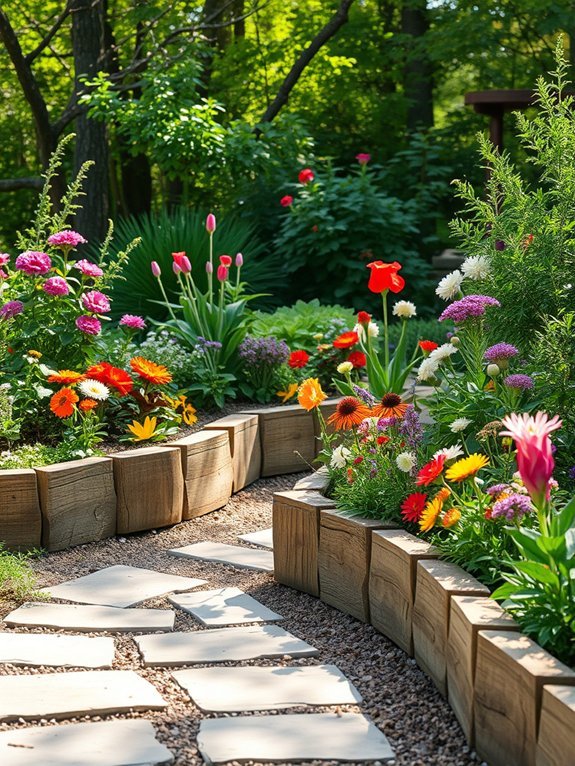
You’ll find that reclaimed wood garden edging not only defines your garden beds but also adds a rustic charm that blends beautifully with nature. By using reclaimed wood, you’re promoting sustainability while creating a unique border that showcases character. Start by collecting old wooden pallets, fence boards, or barnwood; these materials often carry stories of their past. Cut the wood to your desired length and shape, then stake it securely into the ground. You can even leave some pieces rough for an authentic look. Consider applying a non-toxic sealant to prolong its life against the elements. This project is not only budget-friendly, but it also brings a touch of warmth and personality to your outdoor space. Happy gardening!
Natural Twig Garden Fencing
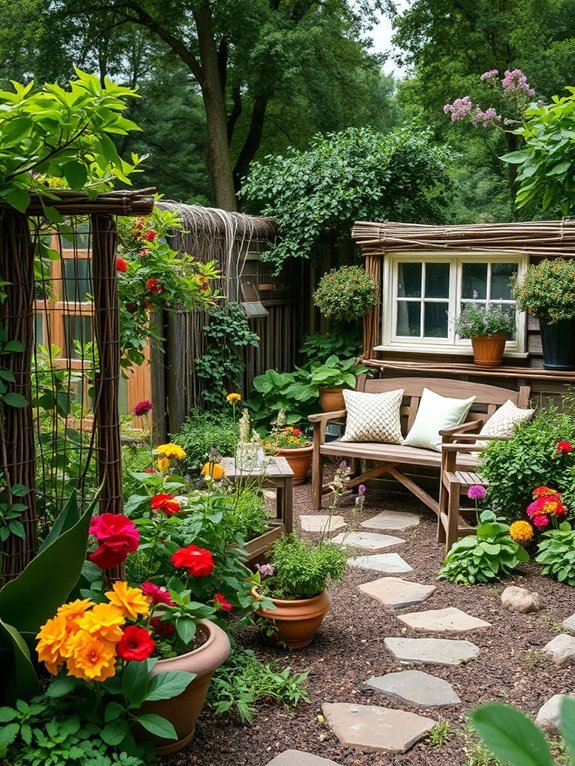
If reclaimed wood garden edging captures the rustic essence of your garden, natural twig fencing takes it a step further by inviting the organic elements of the outdoors. This charming fence not only adds a whimsical touch but also blends seamlessly into your landscape. Here’s how you can create your own:
- Gather Twigs: Collect sturdy twigs from your yard or nearby woods.
- Choose a Design: Decide whether you want a simple straight line or a curved shape for visual interest.
- Construct the Fence: Use posts to anchor your twigs vertically or horizontally. Secure them with twine or wire.
- Maintain: Regularly inspect for any weak spots and replace twigs as needed.
Enjoy your natural twig fencing while enhancing the beauty of your rustic garden!
Upcycled Wheelbarrow Planter
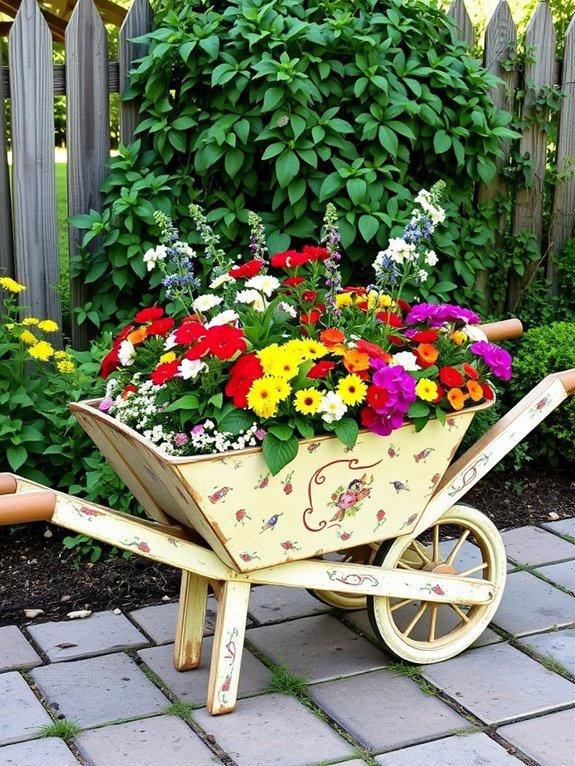
Transforming an old wheelbarrow into a charming planter instantly elevates your garden’s rustic appeal. This project not only recycles but also adds character to your outdoor space. First, find a sturdy wheelbarrow and clean it. Add drainage holes in the bottom to prevent water buildup. Next, fill it with potting soil and choose your favorite plants—vibrant flowers or fragrant herbs work best.
Here’s a quick comparison to help you decide on your plants:
| Plant Type | Growth Needs |
|---|---|
| Flowers | Full sun, well-drained soil |
| Herbs | Partial shade, rich soil |
| Perennials | Moderate sun, consistent moisture |
Position your planter in a sunny spot, and watch your garden flourish with rustic charm!
Painted Rock Garden Markers
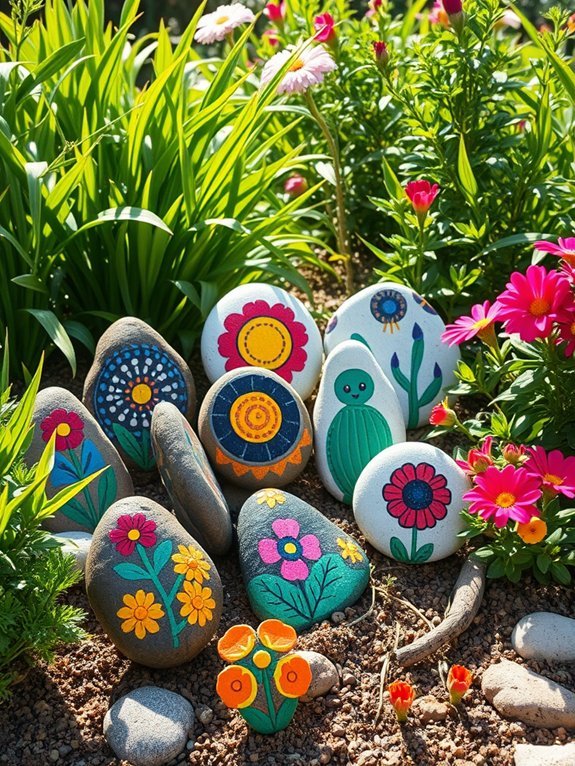
As spring blooms and your garden flourishes, adding a personal touch with painted rock garden markers can enhance both functionality and aesthetics. These charming markers not only help you identify your plants but also infuse creativity into your outdoor space. Here’s how to create your own:
- Select Smooth Rocks: Look for flat, clean stones to guarantee your designs stand out.
- Gather Supplies: Use acrylic paint, paintbrushes, and a clear sealant to protect your artwork.
- Get Creative: Paint the names of your herbs, flowers, or vegetables, and add whimsical designs for extra flair.
- Seal for Longevity: Once dry, apply a sealant to keep your markers vibrant against the elements.
With just a little effort, you’ll have a beautiful, organized garden!
Hanging Herb Garden From Repurposed Items
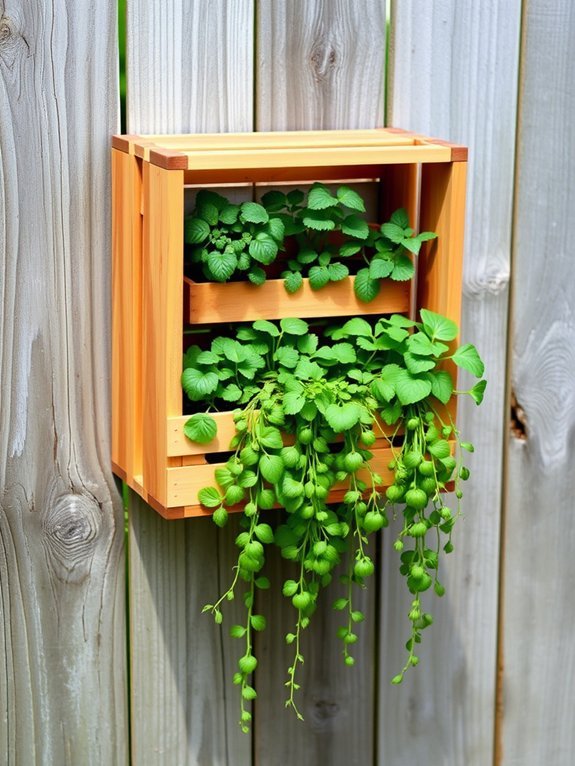
Creating a hanging herb garden from repurposed items can turn your small outdoor space into a vibrant green retreat. Start by gathering old wooden crates, tin cans, or even glass jars. Clean them well and give them a splash of paint if you like. Next, drill holes in the bottoms for drainage. Fill them with potting soil and choose vibrant herbs like basil, mint, or parsley. Hang your creations in a sunny spot using sturdy hooks or ropes. Not only will you save space, but you’ll also have fresh herbs at your fingertips. Remember to water them regularly and enjoy the delightful aroma as you step outside, breathing life into your rustic garden. It’s sustainable and beautiful!
Rustic Birdhouse From Scrap Wood
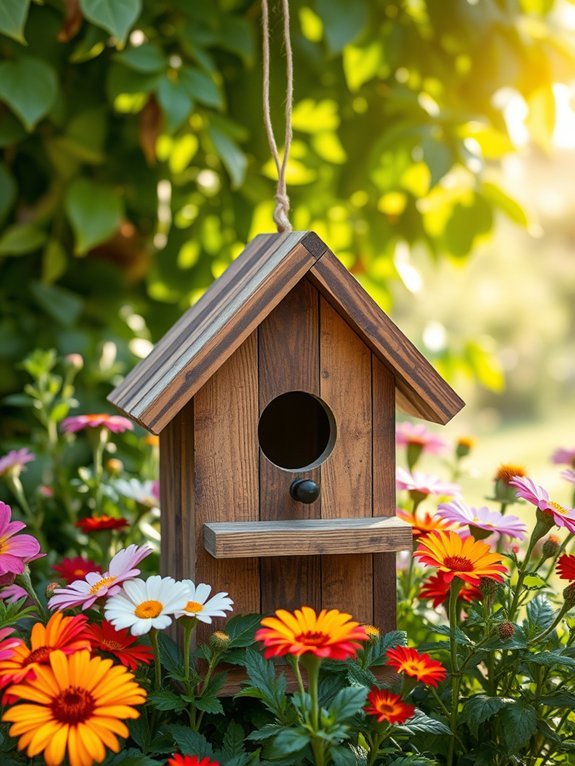
A charming rustic birdhouse from scrap wood can add character and a sense of whimsy to your garden. It’s a fun project that not only gives birds a cozy home but also repurposes materials you might already have. Here’s what you’ll need:
- Scrap Wood: Old pallets or leftover lumber work great.
- Wood Glue: For extra durability in your joints.
- Nails or Screws: To hold everything together securely.
- Non-toxic Paint/Stain: If you’d like to add some color without harming wildlife.
Start by cutting the wood into your desired shapes, assemble it, and let your creativity flow. Once finished, hang or place your birdhouse in a cozy corner, inviting feathered friends to visit!
